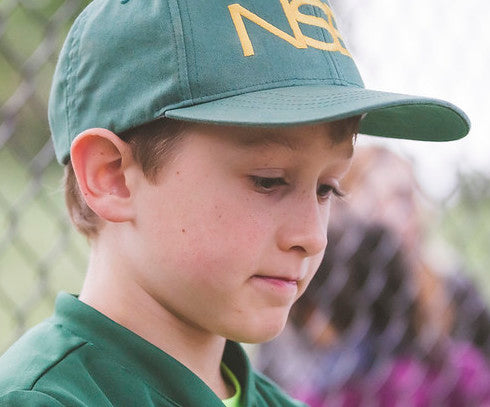
Baseball caps are a funny thing. If you wear them for long enough, it can feel like they are a part of you. We have all had that baseball cap that we become attached to, and whether it’s being worn on or off the field, they all eventually get dirty. We will often hold on to our beloved baseball caps for a little bit too long, but you can greatly increase the lifespan of your favorite piece of headwear with a good cleaning.
Tips to keep in mind for the next time you want to clean your baseball cap:
1. Get rid of the major dust and debris:
The first step is to get rid of all of the loose dirt on the hat by dry brushing it with a soft brush. This will help it get cleaner faster once you actually start washing it.
2. Soak It:
For the next step, you will want to fill up a container with cool or lukewarm water and add a color-safe oxygen bleach. This will help release any deep-set dirt and stains on your hat without the risk of damaging the color. Let it soak for about an hour, although very tough stains may require longer.
3. Rinse it:
Rinse the hat in clean water and make sure to get rid of all of the bleach or detergent within the material.
4. Reshape it:
This cleaning process can make your hat lose some of its shape, so you will want to reshape it to get it back to your desired form. You can do this by stuffing a towel, newspaper, a bowl, or really anything else that will get it back to the round shape of your head. Make sure that it is packed tight so that there are no creases or wrinkles. You can also put a string or a loose rubber band around the bill if you want to re-curve it.
5. Let it Dry:
After you get your hat in the right shape, let it air dry. DO NOT put your hat in the dryer. This can damage it and undo all of the hard work you did to reshape it. After it completely dries, your hat should be back to looking how it did when you first bought it.
Now go out and wear it with pride!
Check out how to clean a baseball glove here.
